A Day at the Beach
Inspired by Nature
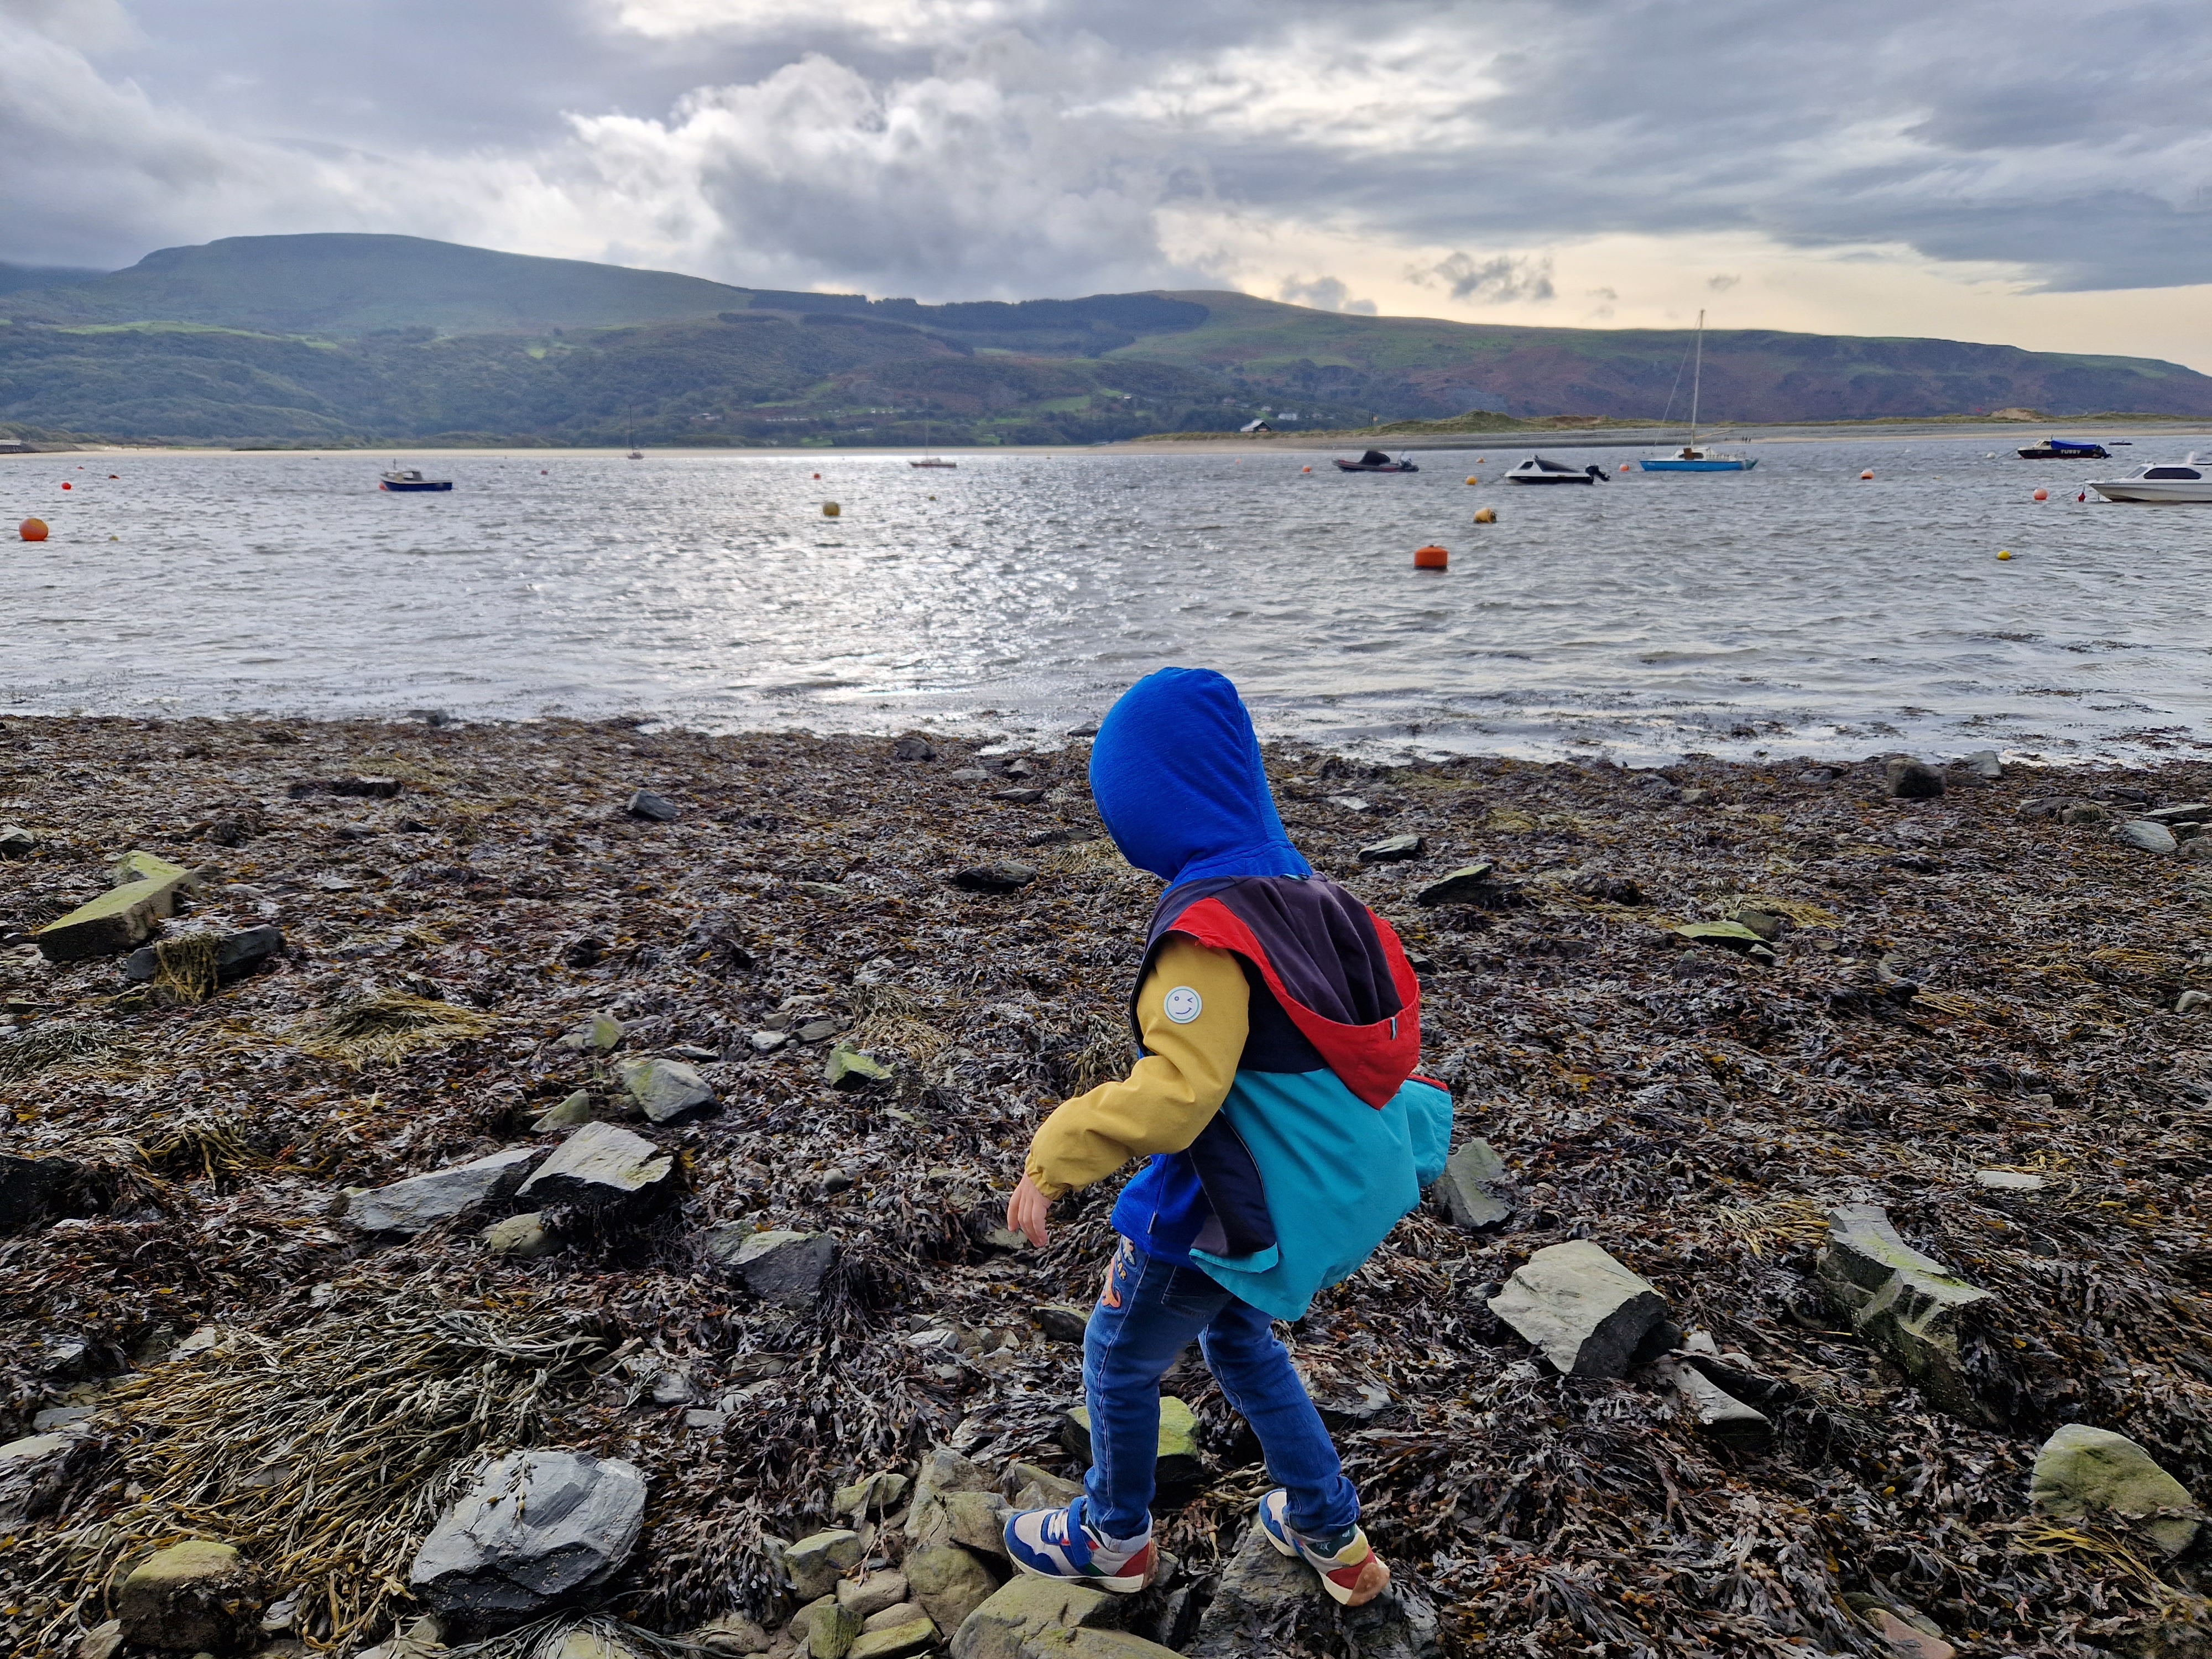
Here are a variety of arts & crafts ideas that are inspired by the beach. Explore the beach with all your senses to inspire your ideas. Imagine you are there right now (or even better go a beautiful beach!) and think about all of the things that you can see such as the waves lapping on the golden sand. Think about the sound of the water splashing onto rock pools as it swirls and gathers in the rock crevasses. Smell the salty seaweed on the breeze. Feel the shells and pebbles that are scattered in the grainy sand.
Explore
Beaches are wonderful places to explore and have fun. Look for crabs and tiny sea snails in rock pools; Splash around in the shallow waters and chase the waves; Make sandcastles, sand rockets and sand turtles! Decorate them with shells, pebbles and pieces of dried-up seaweed.
Create
- Immerse yourself in your surroundings and record your happy memories and discoveries by making some drawings of your favourite things in a sketch pad. Record some of the colours that you observe with pencil crayons.
- Take some photographs to look back on for beach art inspiration back home.
- Collect some shells, dried up seaweed and driftwood to make nature mandalas and pictures in the sand. This activity is a great way to exercise those gross motor skills.
- Paint shells to experience painting on a small textured surface. This is a great way to fine tune those fine motor skills.
- Use playdough to make imprints of the natural items that you find at the beach.
Discover
- Creative thinking
- Nature
- Develop Fine and Gross Motor Skills
- Decision making
- Feel good and relax
Here are our three best beach inspired arts and crafts ideas for you to try...
Sea froth painting
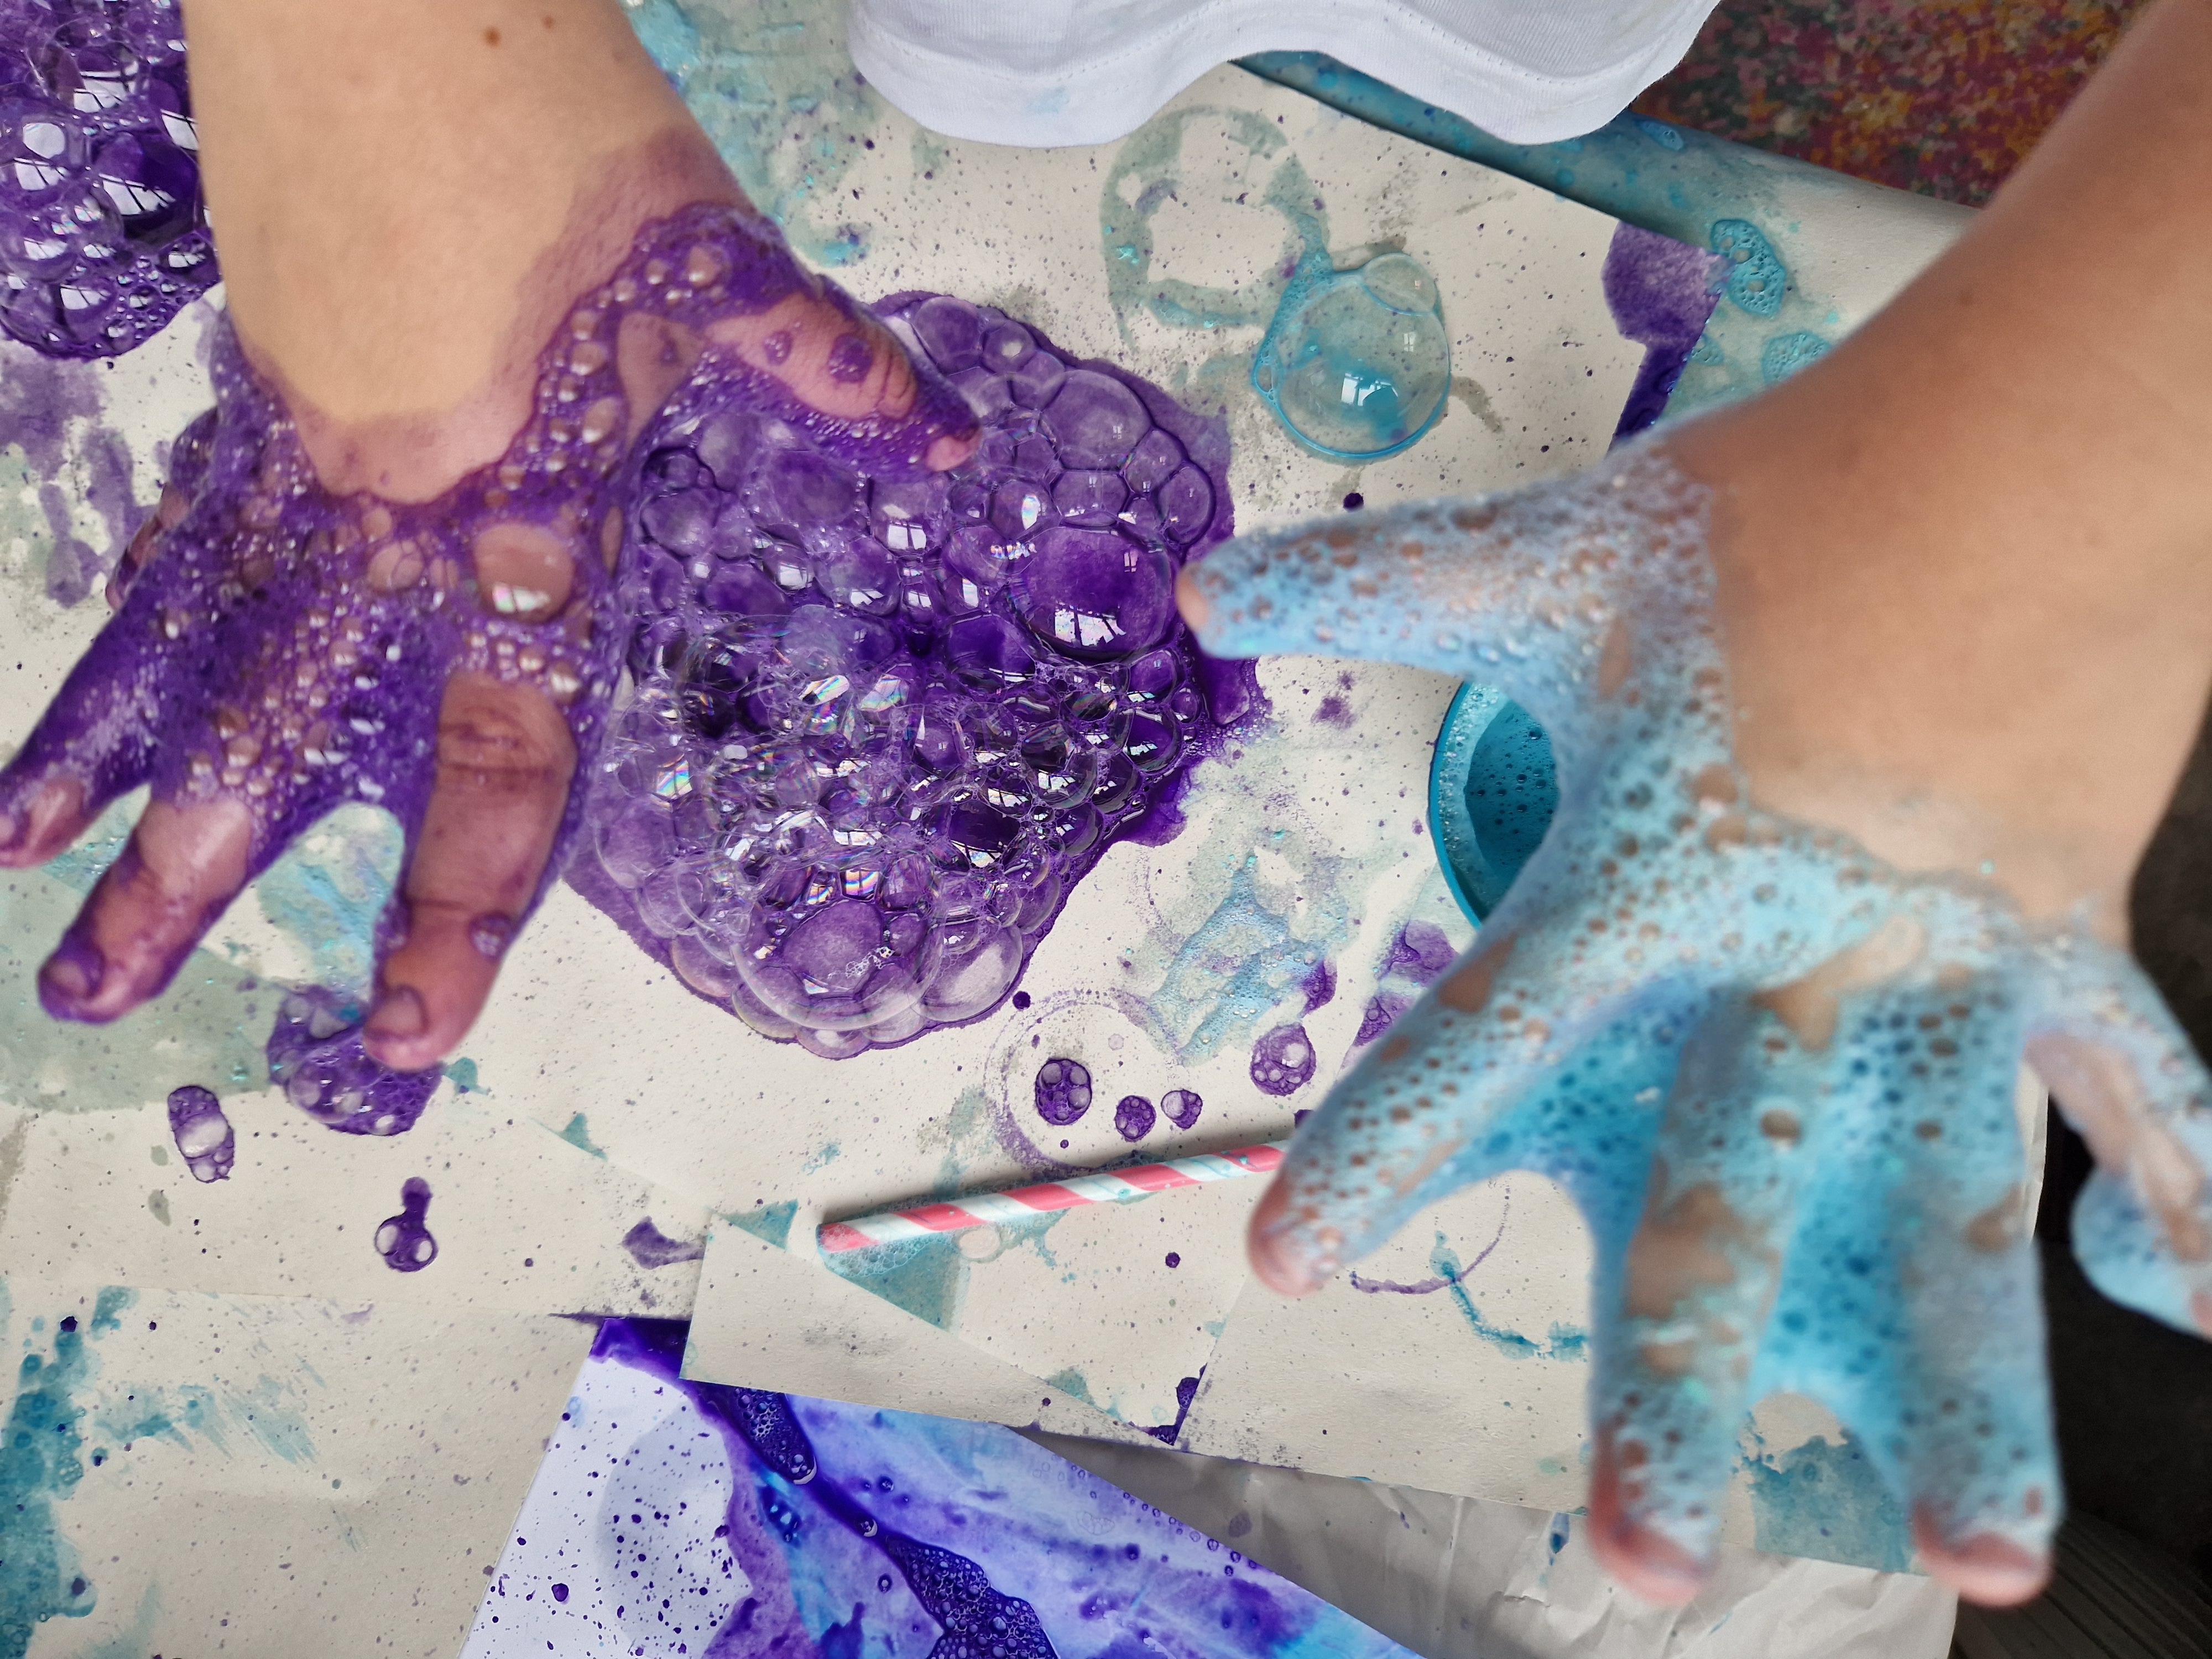
A fun activity best enjoyed outside…
This activity can get a little bit messy, and you might prefer to do this in a tuff tray so that any spillages are contained. It’s definitely best enjoyed outside so that you can wash away any spillages with some water or the rain. Plus, it’s a good excuse to get outside and get some fresh air!
You will need
- A tray or an open empty box without a lid
- Plastic cups – yogurt pots work well too.
- Washing up liquid
- Washable paint – blues, greens and white will work well to create sea foam.
- Water
- A paper straw
- Pipe-cleaners – for optional bubble wands.
- Thick paper or card
Prepare
- Mix a generous squirt of paint with a similar amount of washing up liquid to make some soapy paint.
- Double the amount of soapy paint you have, by adding another 2 parts of water to the mix. Mix well to create bubbly paint.
- Stand the cup of mixture on top of some thick paper or card, inside a tray.
- Supervise the activity and make sure that your child understands that they are not to suck the liquid through the straw, or they will be in for a yukky surprise! Do not swallow the mixture. With younger children, you can make the bubbles for them.
- Make the bubbles by placing your straw into the liquid and blowing air into it.
Watch in amazement as the bubbles start to rise out of the cup.
The air rises up through the soapy paint mixture creating colourful bubbles.
- Your child can create their own bubble art by placing their paper over the top of the cup, capturing the bubbles.
- You can also make your own bubble wand by twisting pipe cleaners together to make shapes. Dip your wand into the solution and blow the coloured bubble onto your paper.
- Allow to dry and re-create the process with a different colour!
Sand Art
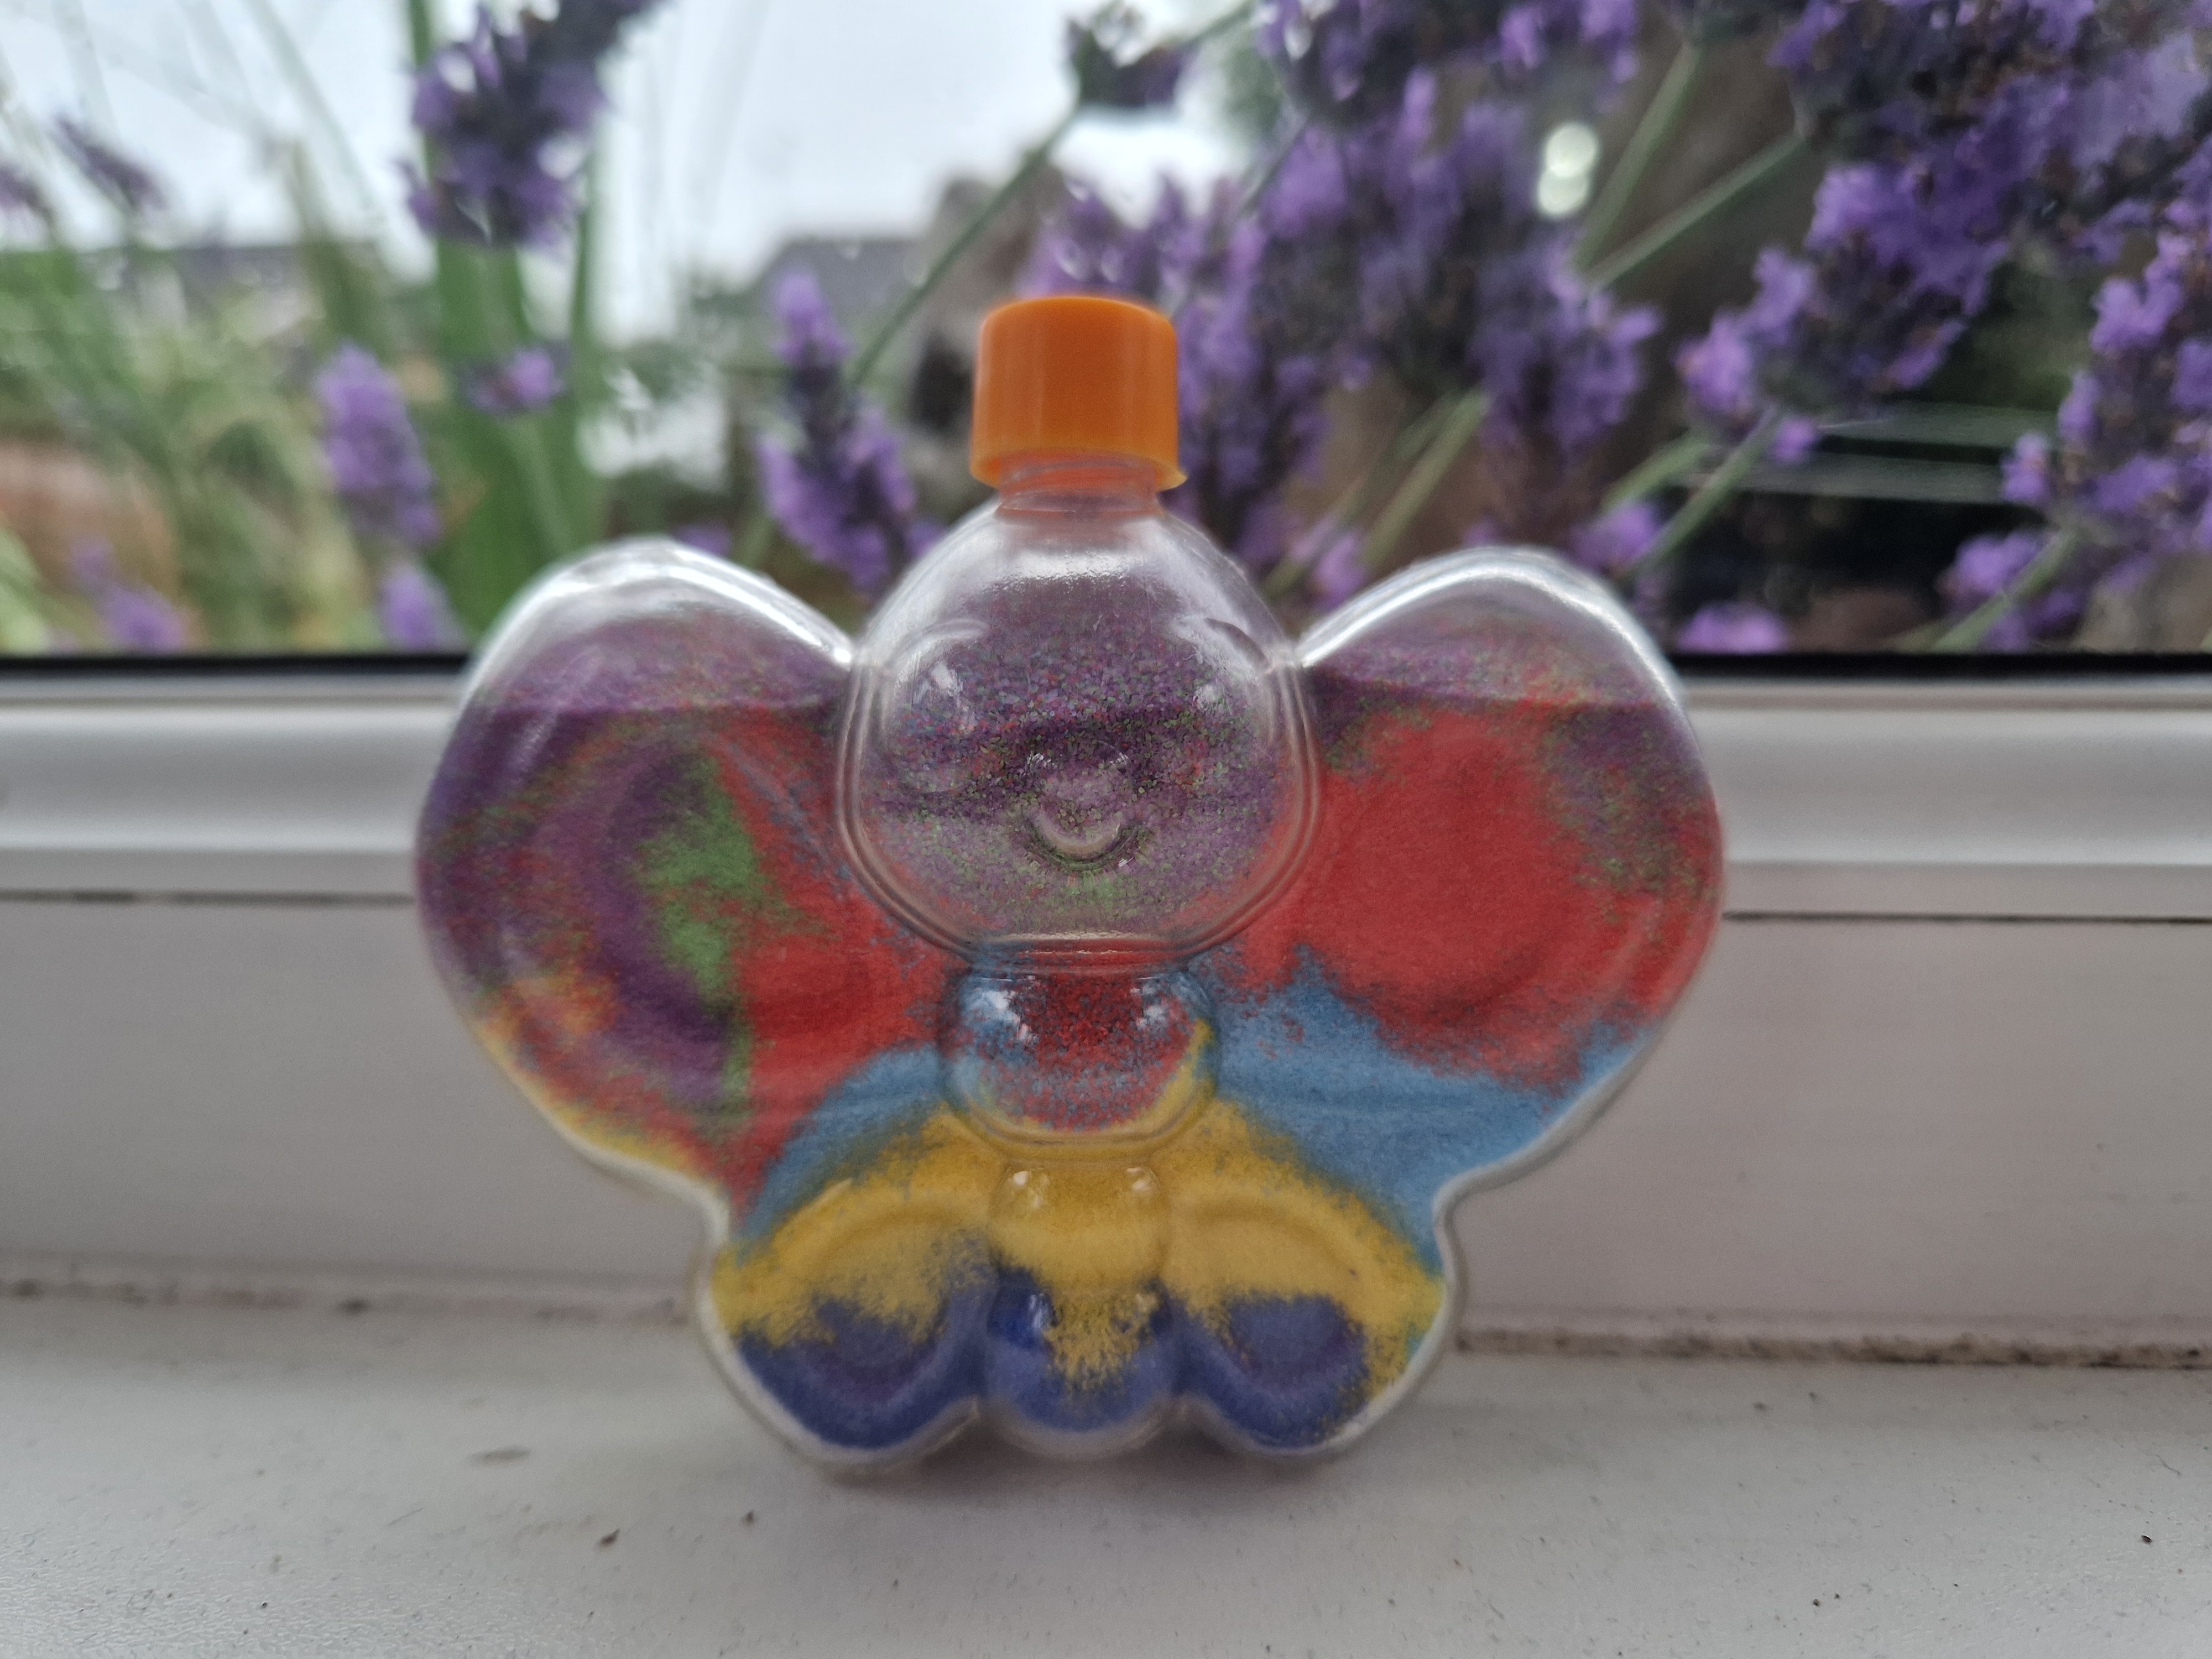
Create sand art bottles
Use a clean empty jar or clear plastic bottle from your recycling to create layered sand art.
Prepare your jar or bottle by removing any labels so that you can see inside from all sides. If you are struggling to get rid of any labels or sticky residue, soak your jar or bottle in warm soapy water first.
Make a funnel shape out of some paper and tape to pour your chosen sand colour into. The narrow end of the funnel will guide your sand into the bottle neck. Wiggle the funnel around and tilt your bottle to create an uneven surface. This will make waves and patterns as you layer the different colours of sand.
Gently tap the bottle to help the sand layers to settle.
Use a toothpick, cotton bud, fine paint brush handle or a thin straight stick to create patterns around the sides of your sand art bottle or jar. Gently drag the stick through the sand to the sides and lift along the sides.
Sand art activities are a great way to explore colours and texture. Pouring the sand helps to strengthen fine motor skills whilst developing focus and concentration as they control their movements.
For more Sand Art ideas, check out our Sand Art blog post here!
Seashell creatures
You will need:
- Air dry clay
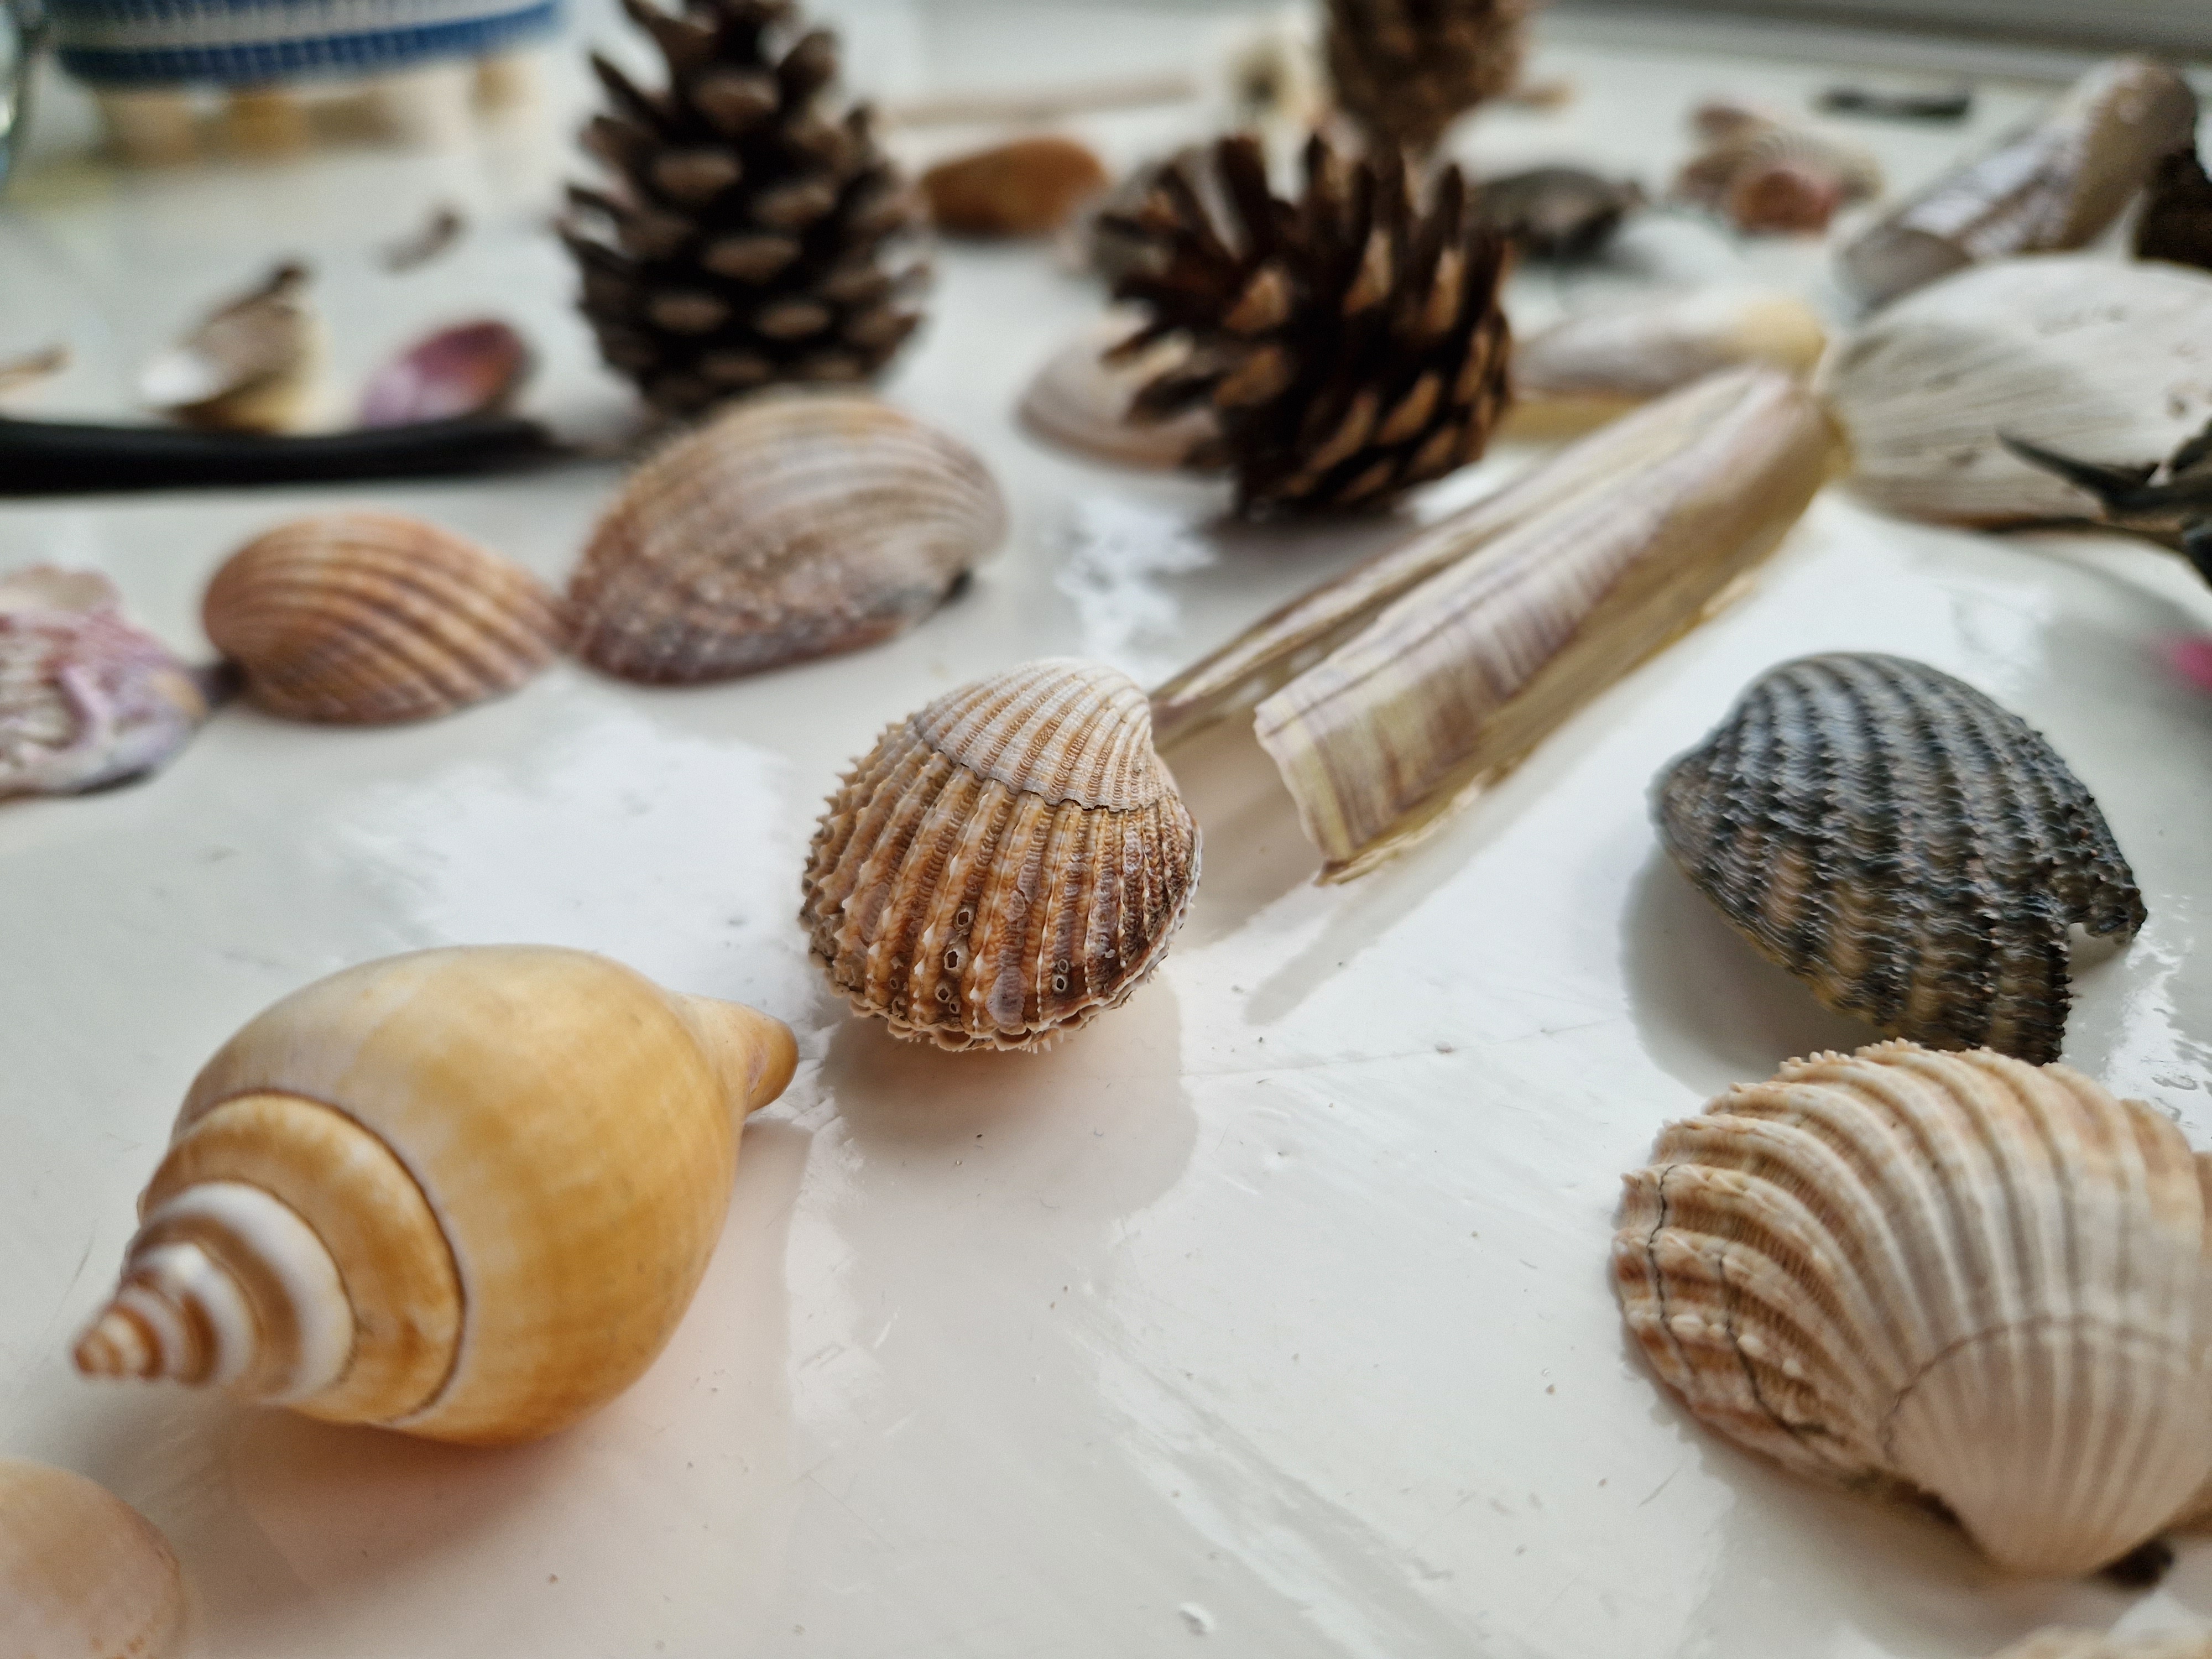
- Shells
- Paints
- Paint brush
Prepare your clay:
- Warm some air dry clay in your hands. Press it in between your palms and begin to rotate your hands, creating a ball shape.
- Place your ball of clay onto a hard surface.
- Use a rolling pin, or the side of a cup, to roll the ball of clay out to approximately 1-2cm in thickness. Change the direction in which you roll so that you create an even sized square or circle surface to work with.
- Dip your finger into some water and rub the clay to smooth off any rough edges and cracks that may appear in the clay.
Make seashell creatures:
- Arrange your shells on top of your clay to make your chosen creature.
- You could make a turtle, a starfish, or a fish.
- Take care not to press the shells into the clay until you are happy with your design.
- Once you are happy with your design, gently press each shell into the clay. Be careful not to press them into the clay too far so that they press through the clay completely.
Painting your shells:
You can paint your shells before you use them, or you can paint them afterwards.
Painting before will mean that you can paint each shell in more detail.
Painting after will give you the whole picture of your chosen creature. This might help you to decide which colours to paint each shell a little easier. For example, you might choose to paint the turtles shell shells with green paints, and its legs with brown paints. If you decide to paint the shells afterwards, make sure that they clay is dry.
Finishing touches:
Allow 24-48 hours for your clay to dry. Place it on a flat surface inside a dry cupboard. You might choose to paint the whole ornament once it is dry.
Make shell imprints
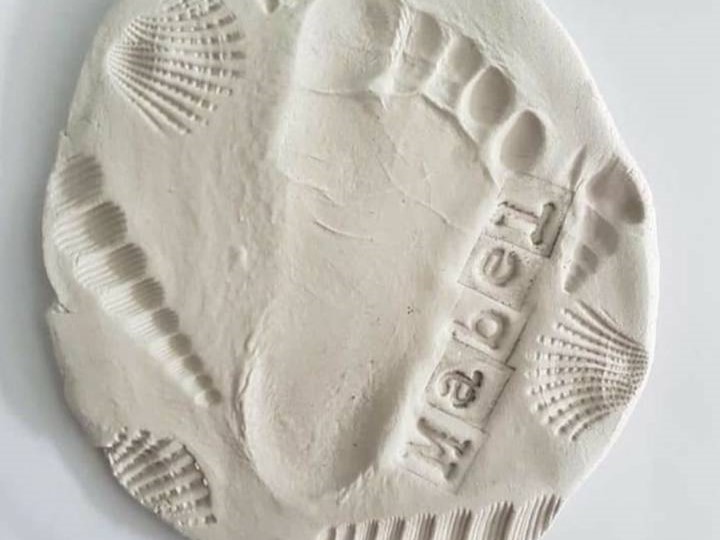
A lovely keepsake idea is to make shell imprints around your hand or footprint!
Sign up to receive our emails so that you can keep up to date with lots more arts and crafts ideas.


