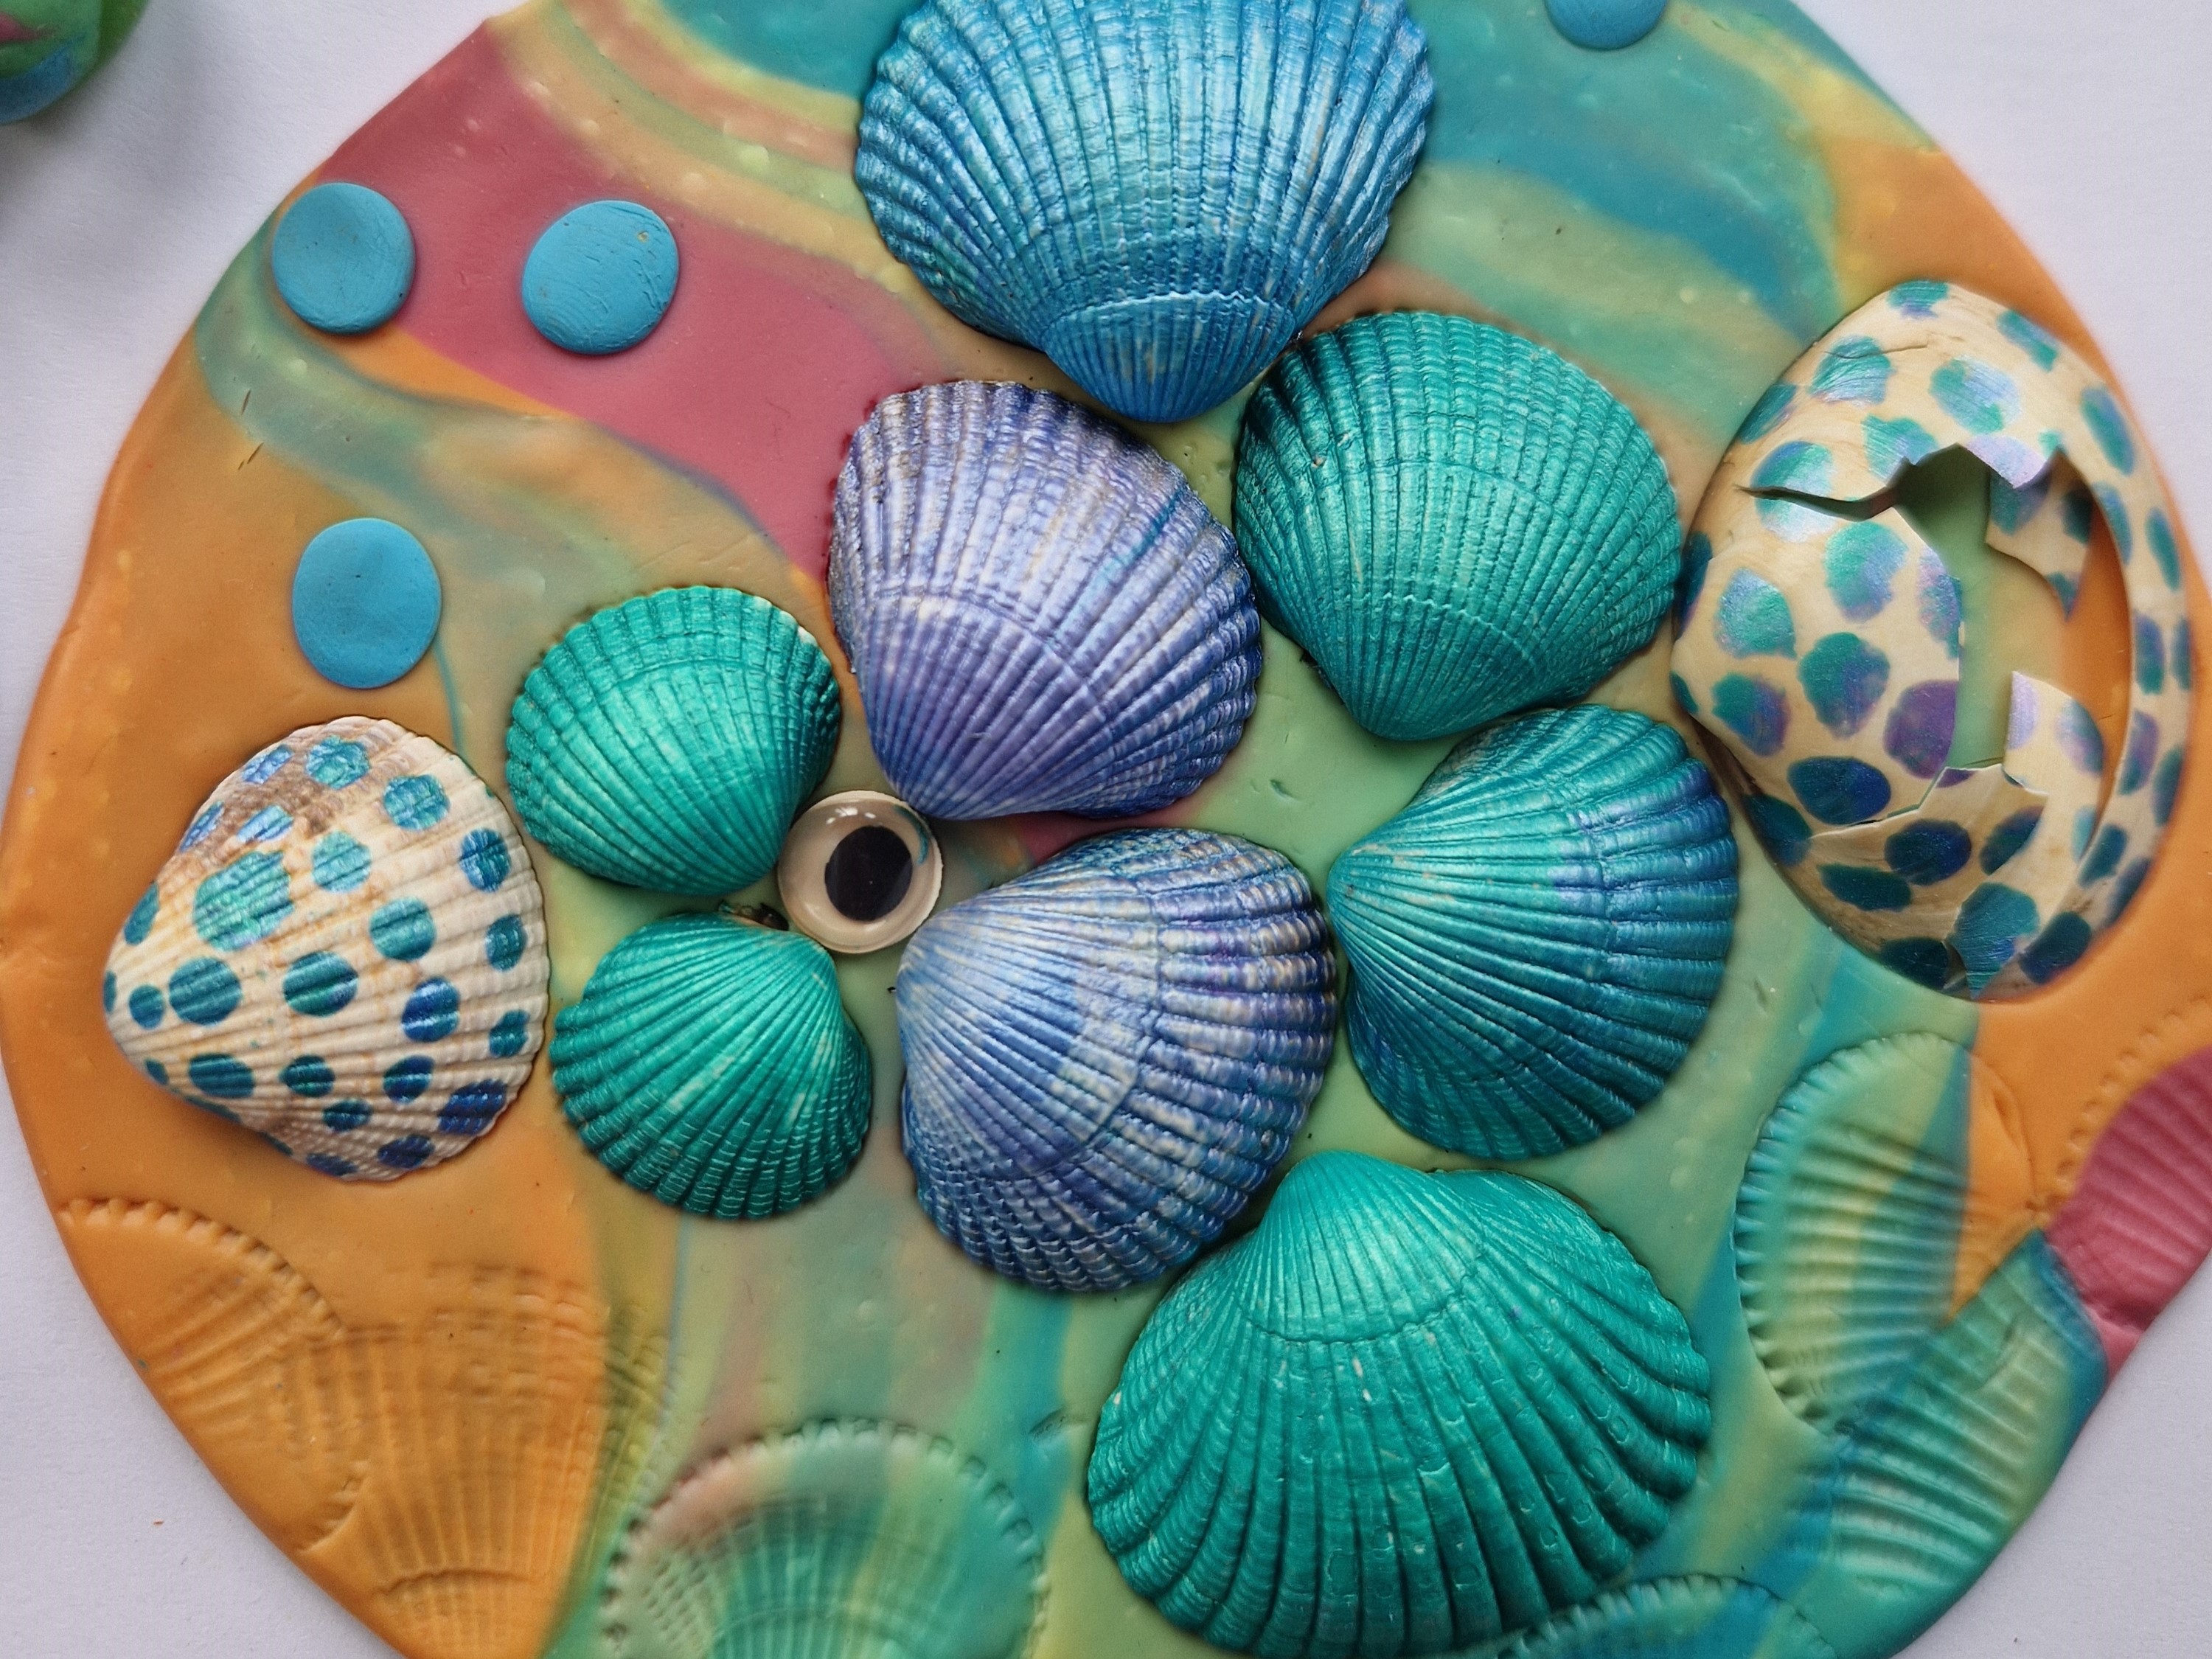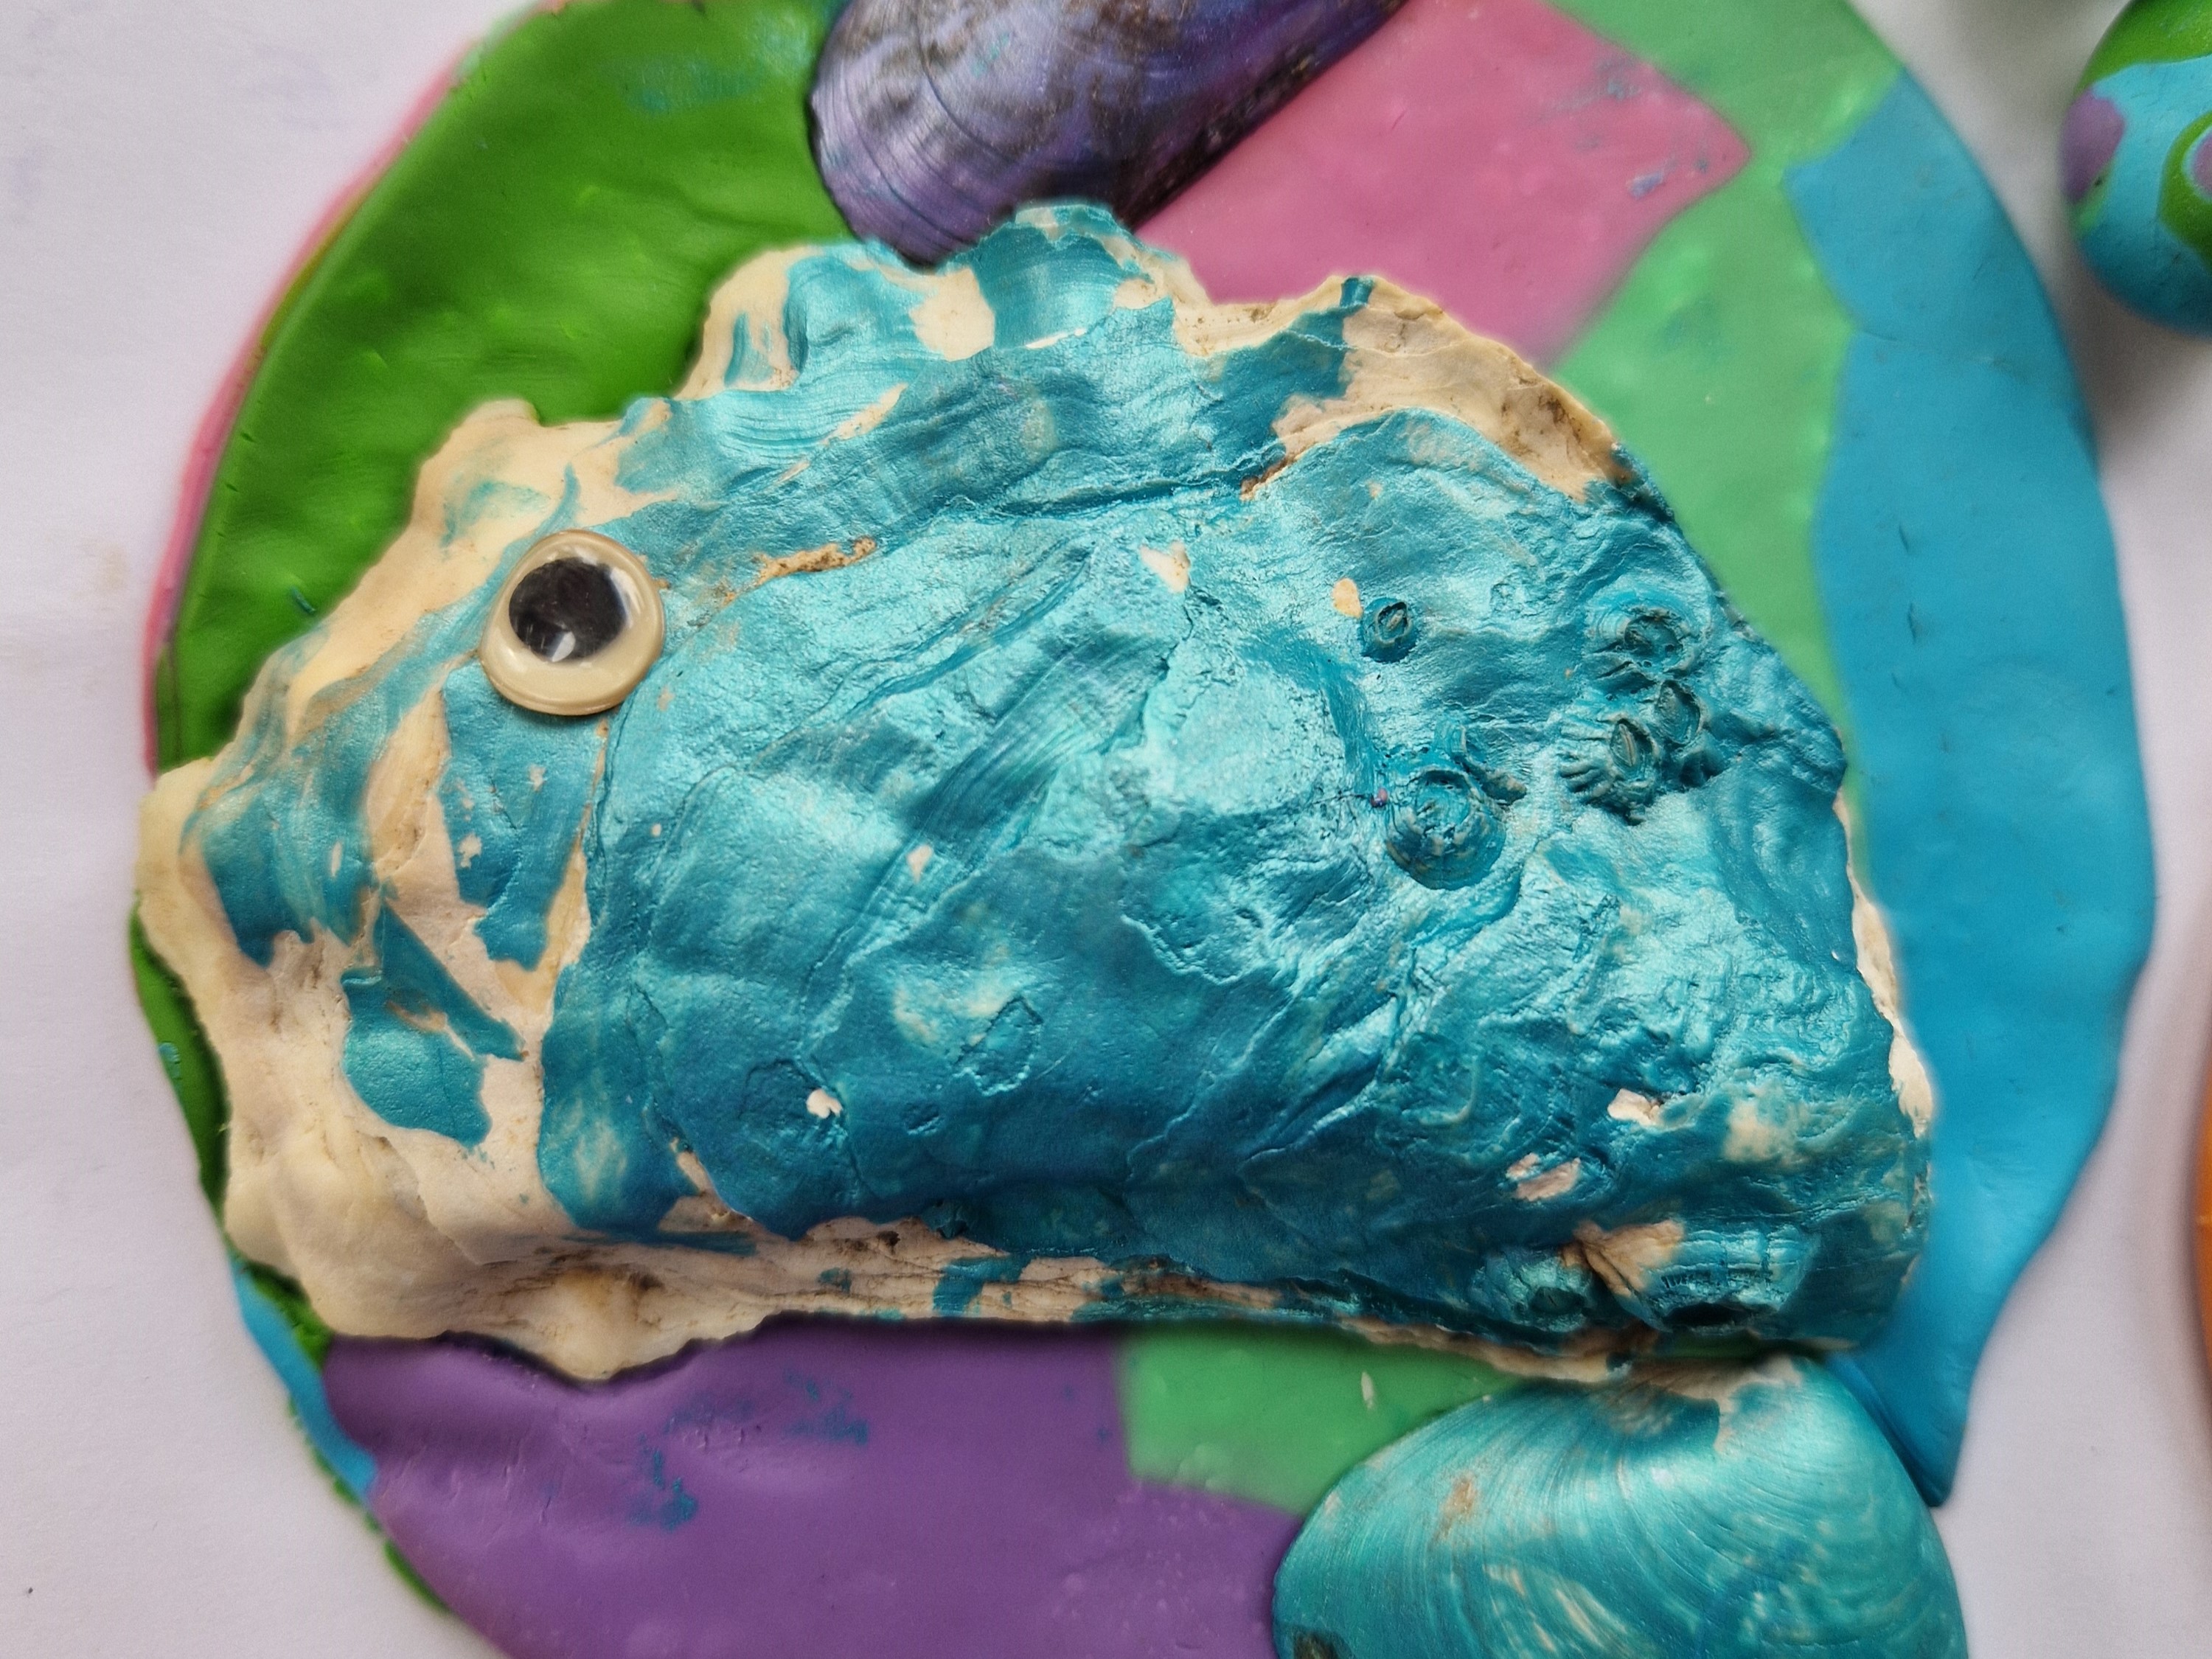
You will need:
- Air dry clay, playdough or polymer clay
- Shells
- Paints
- Paint brush
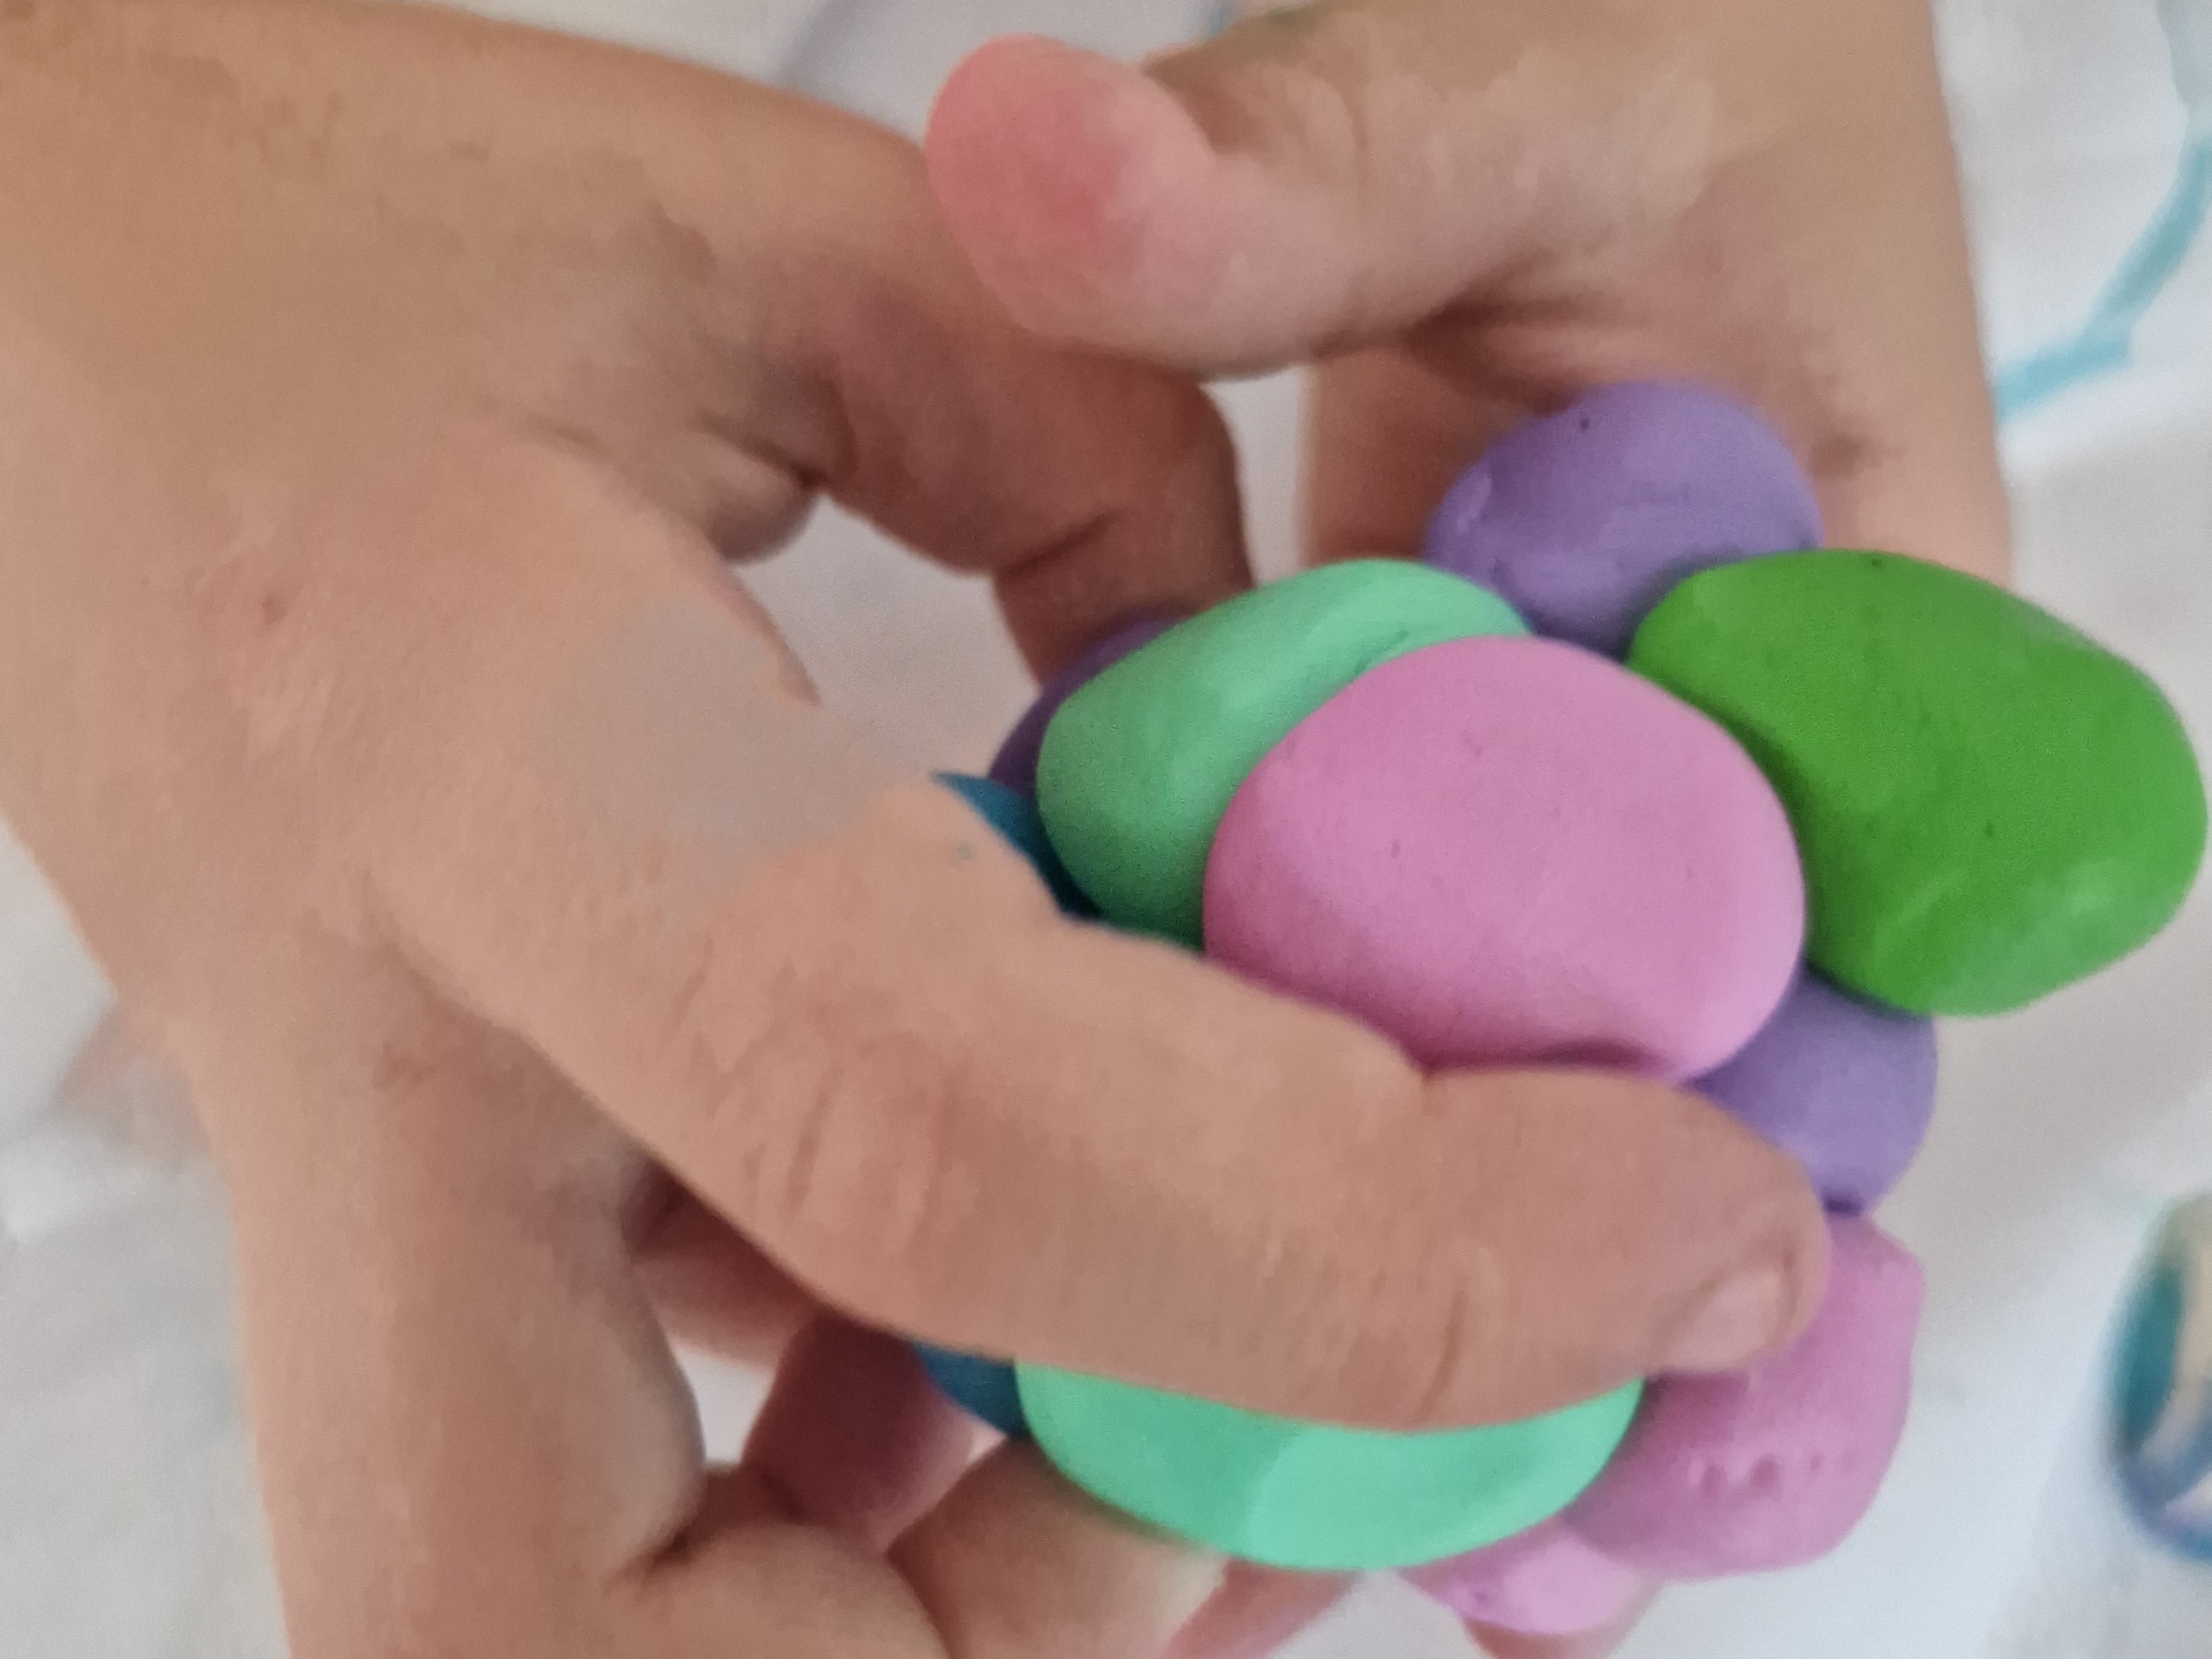
Prepare your clay:
- Warm some air dry clay in your hands. Press it in between your palms and begin to rotate your hands, creating a ball shape.
- Place your ball of clay onto a hard surface.
- Use a rolling pin, or the side of a cup, to roll the ball of clay out to approximately 1-2cm in thickness. Change the direction in which you roll so that you create an even sized square or circle surface to work with.
- Dip your finger into some water and rub the clay to smooth off any rough edges and cracks that may appear in the clay.
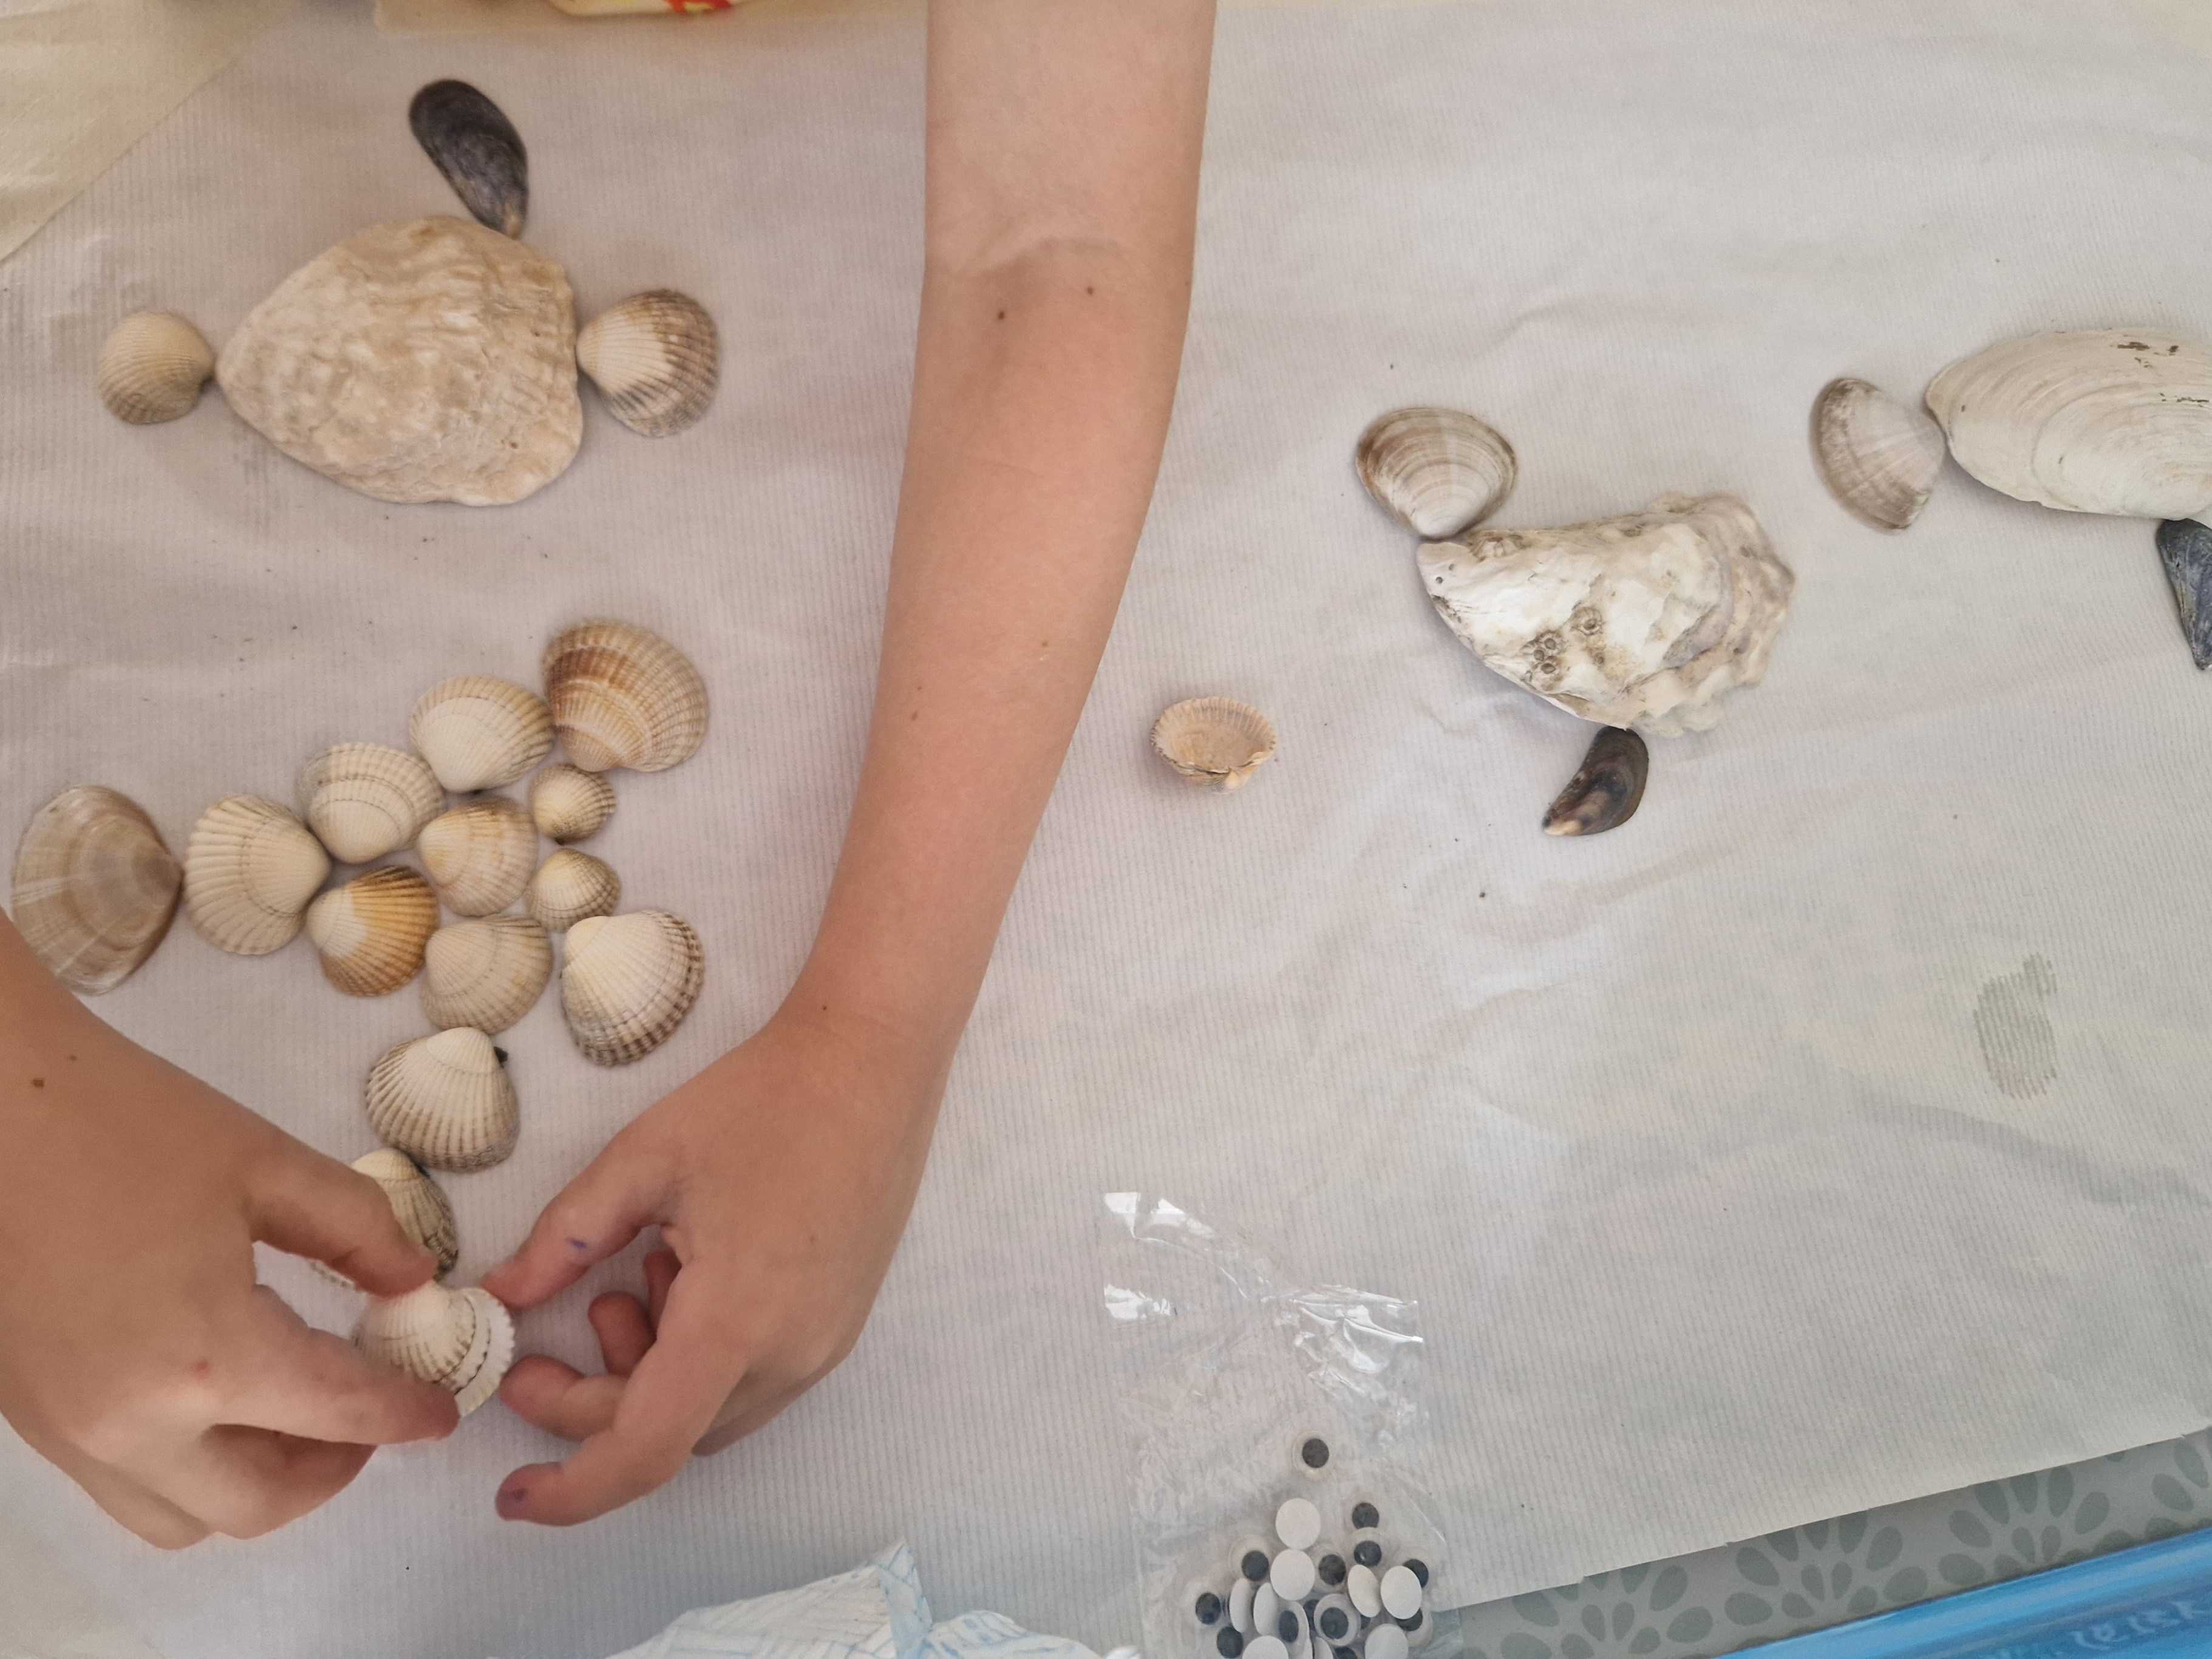
Make seashell creatures:
- Arrange your shells on top of your clay to make your chosen creature.
- You could make a turtle, a starfish, or a fish.
- Take care not to press the shells into the clay until you are happy with your design.
- Once you are happy with your design, gently press each shell into the clay. Be careful not to press them into the clay too far so that they press through the clay completely.
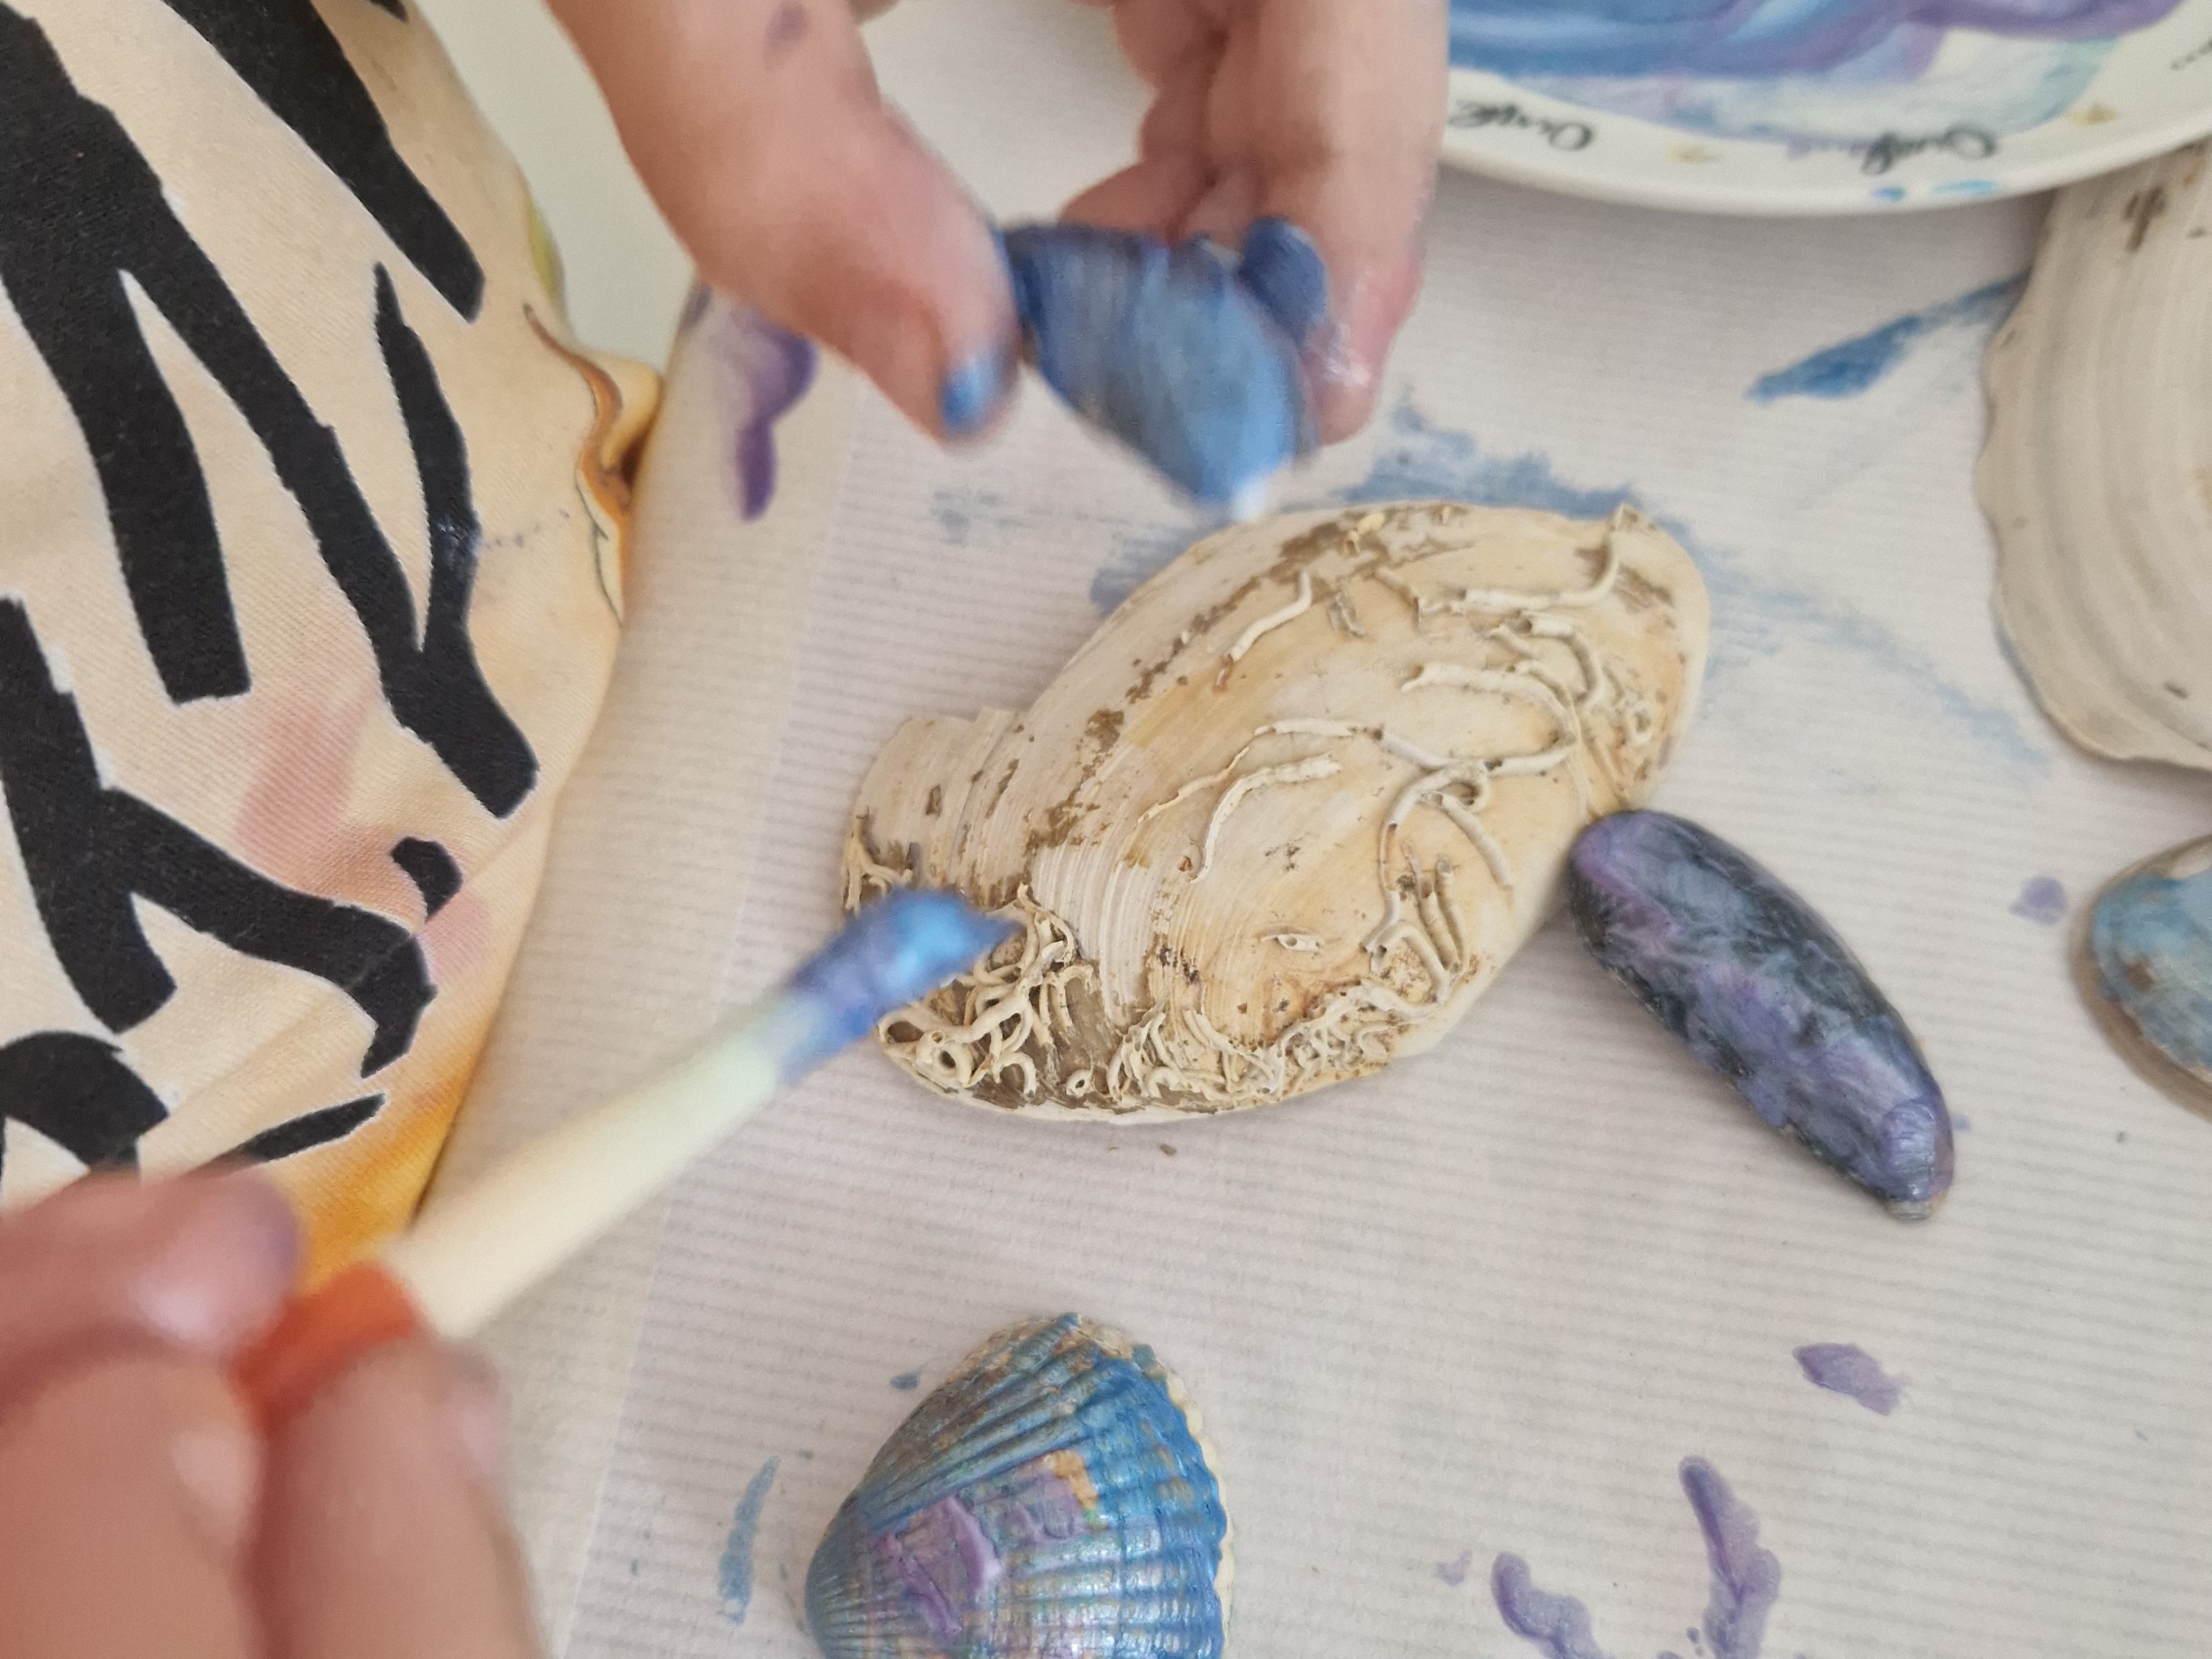
Painting your shells:
You can paint your shells before you use them, or you can paint them afterwards.
Painting before will mean that you can paint each shell in more detail.
Painting after will give you the whole picture of your chosen creature. This might help you to decide which colours to paint each shell a little easier. For example, you might choose to paint the turtles shell shells with green paints, and its legs with brown paints. If you decide to paint the shells afterwards, make sure that they clay is dry.
Finishing touches:
Allow 24-48 hours for your clay to dry. Place it on a flat surface inside a dry cupboard. You might choose to paint the whole ornament once it is dry.
Please note that these instructions are for using air dry clay. You will need to read the instructions on the packed if you choose to use polymer clay.
For more nature inspired arts & crafts activities, including all of the materials that you need, subscribe to our brilliant boxes!
